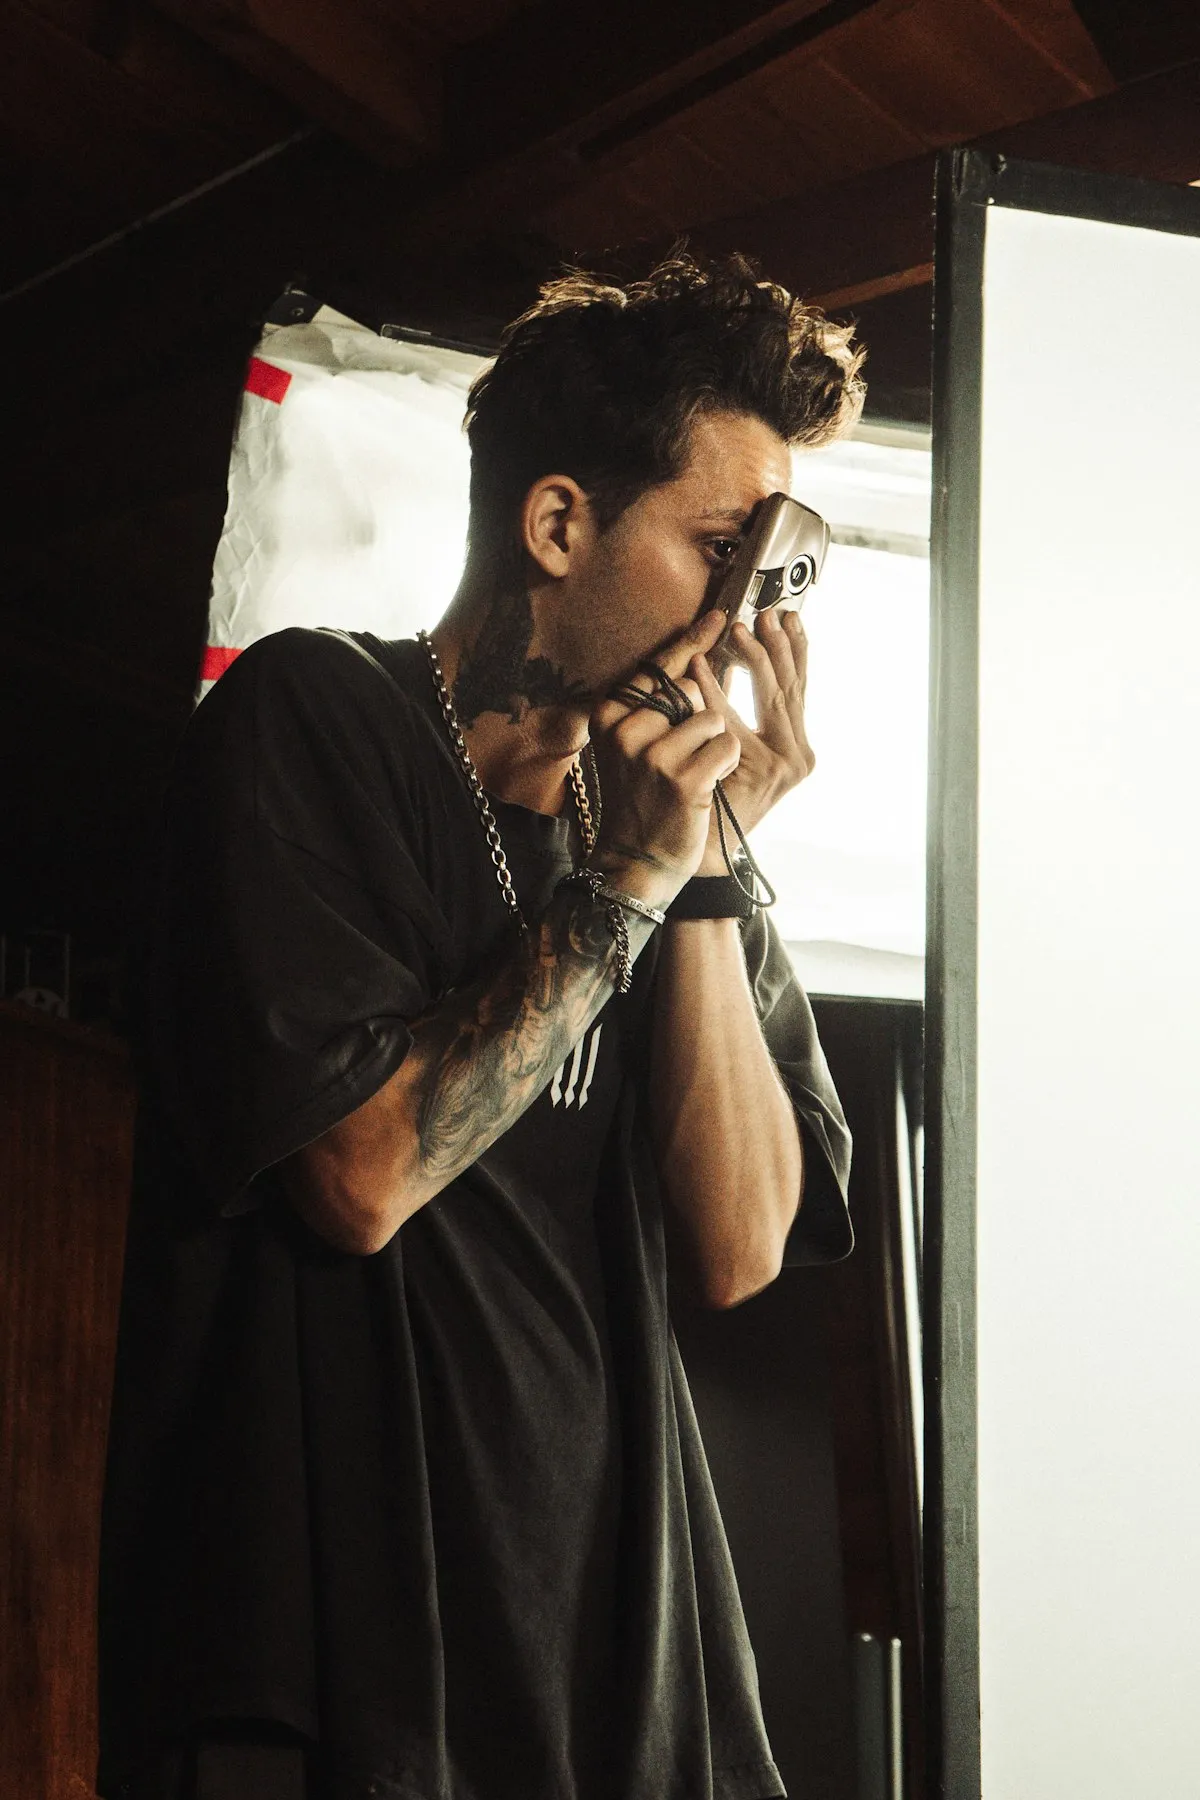
Film photography has a delayed feedback loop that digital shooters never deal with. You make decisions in the field — aperture, shutter speed, focus distance, maybe a filter — and then you wait days or weeks to see the results. By the time your scans come back, you've already forgotten half of what you did. Tracking your settings bridges that gap and turns every roll into a learning opportunity.
You can't improve what you can't measure. When you look at a beautifully exposed frame and know exactly how you shot it, you start building intuition.
Why Tracking Matters
The core reason is simple: you can't improve what you can't measure. When you look at a beautifully exposed frame and know you shot it at f/8, 1/125s on Portra 400 in overcast light, you start building intuition. When you see a thin, underexposed negative and know you were at f/2.8 in shade without adjusting your meter reading, you learn what to avoid.
Over time, tracking creates a personal reference library. You'll know which film stocks you prefer for different situations, how your lenses perform at various apertures, and how your metering habits affect results. This is especially valuable when you're experimenting with new stocks or techniques — pushing Tri-X to 1600 for the first time is much more useful when you can see exactly which frames worked and which didn't.
Method 1: Paper Notebook
The original method, and still used by plenty of experienced photographers. A small notebook in your camera bag where you jot down frame number, aperture, shutter speed, and any notes.
- Pros: No batteries, no app to learn, works in any conditions, tactile and satisfying for those who love the analog process end to end.
- Cons: Easy to forget or lose. Hard to search later. No automatic data like GPS or weather. Difficult to match notes to scans systematically. Your handwriting in cold weather is probably illegible.
Paper works if you're disciplined and shoot at a relaxed pace. Street photographers and event shooters tend to find it too slow — you miss the next moment while writing down settings for the last one.
Method 2: Notes App on Your Phone
A step up from paper: use your phone's Notes, Google Keep, or a spreadsheet. You already have your phone with you, and typing is faster than writing with cold fingers.
- Pros: Always with you, searchable, free, can include photos or voice memos. Easy to share or export.
- Cons: No structure — you have to create your own format and stick to it. No automatic metadata. Cluttered alongside all your other notes. Matching scans to entries is manual work.
This method is fine for occasional shooting, but falls apart once you have 10+ rolls of data scattered across random notes. There's no good way to analyze trends or look back at what you shot six months ago.
Method 3: Dedicated Film Tracking App
Purpose-built apps like Pellica are designed specifically for this workflow. They understand the concept of rolls, frames, film stocks, and cameras. The interface is built around how photographers actually shoot, not around general note-taking.
- Pros: Structured data from the start. Automatic GPS and weather capture. Built-in light meter (in Pellica). Scan import to match photos with shot data. Export options for backup. Statistics to see patterns in your shooting. Find film labs nearby.
- Cons: Requires your phone (though you already carry it). Learning curve, though most apps are intuitive. Some features may require a paid tier.
For anyone serious about improving their film photography, a dedicated app is the most practical choice. The structure it provides saves time both while shooting and when reviewing results.
What to Track for Each Shot
At minimum, record these settings for every frame. The more you capture, the more useful your data becomes when you review your scans:
- Aperture (f-stop): Controls depth of field and sharpness. Knowing you shot at f/2 vs. f/11 explains a lot about the look of the final image.
- Shutter speed: Affects motion blur and exposure. Essential for understanding why a shot is sharp or soft.
- ISO / film speed: Usually fixed per roll, but important to track if you push or pull. Note your actual shooting ISO vs. box speed.
- Lens and focal length: Different lenses have different rendering characteristics. Track which lens you used to learn their strengths.
- Filters: ND, polarizer, color filters for B&W — these affect exposure and the final look significantly.
- Notes: Subject, mood, intention, anything that won't be obvious from the scan alone. “Metered for shadows” or “intentional 2-stop overexposure” is exactly the kind of note that helps later.
- Location: Where you were shooting. Pellica captures this automatically via GPS.
- Weather / lighting: Overcast, golden hour, harsh midday sun, indoor tungsten — the light source shapes the image.
How Tracking Improves Your Photography
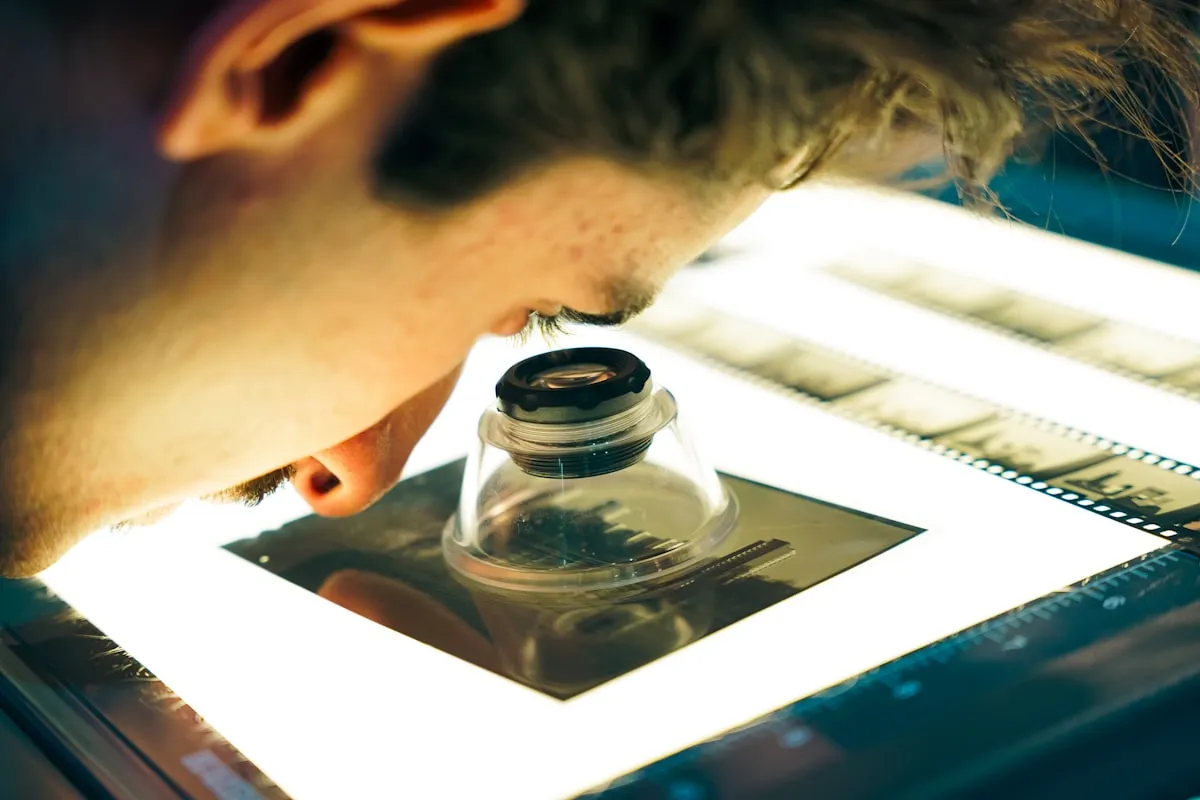
The feedback loop is the real payoff. When your scans arrive, open your tracking data and go through frame by frame. For each shot, compare what you intended with what you got. Did the exposure land where you expected? Is the depth of field what you wanted? Did the film stock handle the lighting well?
After a few rolls, patterns emerge. You might discover that you consistently underexpose in backlit situations, or that Portra 160 handles window light better than you thought. Maybe your 50mm f/1.4 is soft wide open but stunning at f/4. These aren't things you read in a review — they're specific to your gear, your metering habits, and your shooting style.
Photographers who track consistently report that they waste significantly fewer frames. Not because they become cautious, but because they develop sharper instincts. You start knowing the right exposure before you meter because you've seen the pattern dozens of times in your own data.
Getting Started with Pellica in 3 Steps
If you want to try the dedicated app approach, here's how to get going with Pellica:
- Step 1: Create your first roll. Open the app, tap “New Roll,” pick your film stock (Portra 400, HP5, whatever you're loading), and select your camera. Takes about 10 seconds.
- Step 2: Log as you shoot. After each exposure, open Pellica and tap to log the frame. Set your aperture and shutter speed — GPS and weather are captured automatically. Add a quick note if you want. The whole process takes a few seconds.
- Step 3: Match your scans. When your developed photos come back from the lab, import them into the app. Each scan gets paired with the exposure data you logged. Now scroll through and learn from every frame.
The first roll you track will already feel more intentional. By your fifth roll, you'll wonder how you ever shot without it.